Top 5 Tips for Successfully Replacing a Broken Dishwasher Handle
Replacing a broken dishwasher handle might seem daunting, but with the right guidance, it’s a straightforward task that can save you money and extend the life of your appliance. Whether your handle is cracked, loose, or completely detached, this guide will walk you through the essential steps to get your dishwasher looking and functioning like new again.
Identify Your Dishwasher Model and Handle Type
Before purchasing a replacement handle, it’s important to identify your dishwasher’s make and model. This information is typically found on a sticker inside the door or on the frame. Knowing the exact model helps ensure you get a compatible handle that fits perfectly. Additionally, recognize whether your handle is a bar type, recessed grip, or another style to choose the appropriate replacement.
Gather Necessary Tools and Replacement Parts
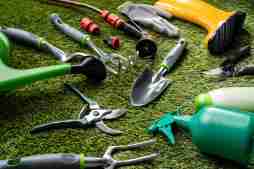
Once you know what kind of handle you need, gather all required tools such as screwdrivers (Phillips or flathead depending on screws), pliers, and possibly an adhesive if specified by the manufacturer. Make sure to purchase an official replacement part from trusted sources like authorized dealers or reliable online retailers to maintain quality and durability.
Remove the Broken Handle Carefully
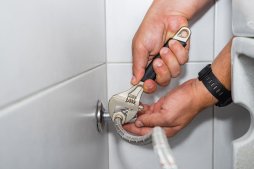
Start by disconnecting power to your dishwasher for safety. Open the door fully and locate screws or clips holding the broken handle in place—these are often accessible from inside the door panel. Use appropriate tools to unscrew them gently without damaging surrounding parts. If adhesive was used previously, carefully pry off remnants without scratching surfaces.
Install the New Handle Securely
Align your new handle with mounting holes on the door panel precisely. Insert screws or clips as directed by manufacturer instructions ensuring everything fits snugly but avoid overtightening which could strip threads or crack plastic components. If adhesive application is needed for additional strength, apply it sparingly following drying times recommended in product documentation.
Test Functionality Before Finalizing
Once installed securely, test opening and closing actions of your dishwasher door several times to confirm stability of new handle attachment. Check for any unusual movement or looseness; if found tighten fasteners gently again until stable without forcing them excessively. Reconnect power supply afterward and enjoy your restored appliance.
Replacing a broken dishwasher handle doesn’t have to be stressful when you follow these top tips carefully step-by-step. By identifying correct parts upfront and handling removal plus installation thoughtfully, you’ll not only fix your appliance efficiently but also gain confidence in performing similar DIY repairs down the road.
This text was generated using a large language model, and select text has been reviewed and moderated for purposes such as readability.


